
Cyberpunk 2077, developed by CD Projekt Red, has undergone a significant transformation since its rocky launch in 2020. With numerous updates, patches, and community mods, the game now performs better, looks more immersive, and offers deeper customization options than ever before. One aspect that both enthusiasts and new players continuously explore is optimizing in-game graphics and features to closely mirror what the developers intended—often referred to as activating or restoring “native settings.”
TL;DR: Cyberpunk 2077 includes hidden or downscaled settings that can be activated to bring out the game’s full graphical potential, often disabled for performance or compatibility reasons. Activating these native settings means adjusting config files, using in-game options properly, and sometimes applying community-created modifications. Careful tweaking allows for richer visuals and more immersive gameplay. This article shows you step-by-step how to identify and enable such settings responsibly.
Understanding “Native Settings” in Cyberpunk 2077
When most players talk about native settings, they refer to configurations intrinsic to the game engine that either have been reduced for performance reasons across hardware configurations or are not visible in the standard graphical menu. These may include:
- Volumetric cloud detail levels
- Native screen-space reflections (SSR)
- High-resolution shadow cascades
- Ray tracing lighting intensities
- Draw distance for pedestrians, vehicles, and decals
While Cyberpunk 2077 does host an impressive settings menu, it does not fully expose these deeper options. Activation involves modifying configuration files or enabling developer-overridden features hidden away from casual user access.
Step 1: Back Up Your Configuration Files
Before making any changes, it is crucial to create backups. Any issues encountered can be easily reversed this way:
- Navigate to your Cyberpunk 2077 installation directory (commonly
C:Program Files (x86)SteamsteamappscommonCyberpunk 2077). - Locate the
engineandr6folders. Copy these to a separate backup folder on your PC. - In addition, back up your in-game saves located in
DocumentsCD Projekt RedCyberpunk 2077.
These backups allow you to safely experiment and restore your game if necessary.
Step 2: Modify Game Config Files for Full Quality Settings
To unlock hidden native settings, you must manually edit Cyberpunk’s config files. This process is straightforward but should be done with precision:
- Open the file located at
C:Users[YourName]AppDataLocalCD Projekt RedCyberpunk 2077UserSettings.json. - Use a text editor (preferably Notepad++ or VSCode) to search for lines that begin with things like
RayTracingorDLSS. - Change values manually. For example:
"RayTracing": "Ultra""DLSS": "Off"if you’re aiming for raw graphical fidelity without upscaling.
- Save the file and set it to read-only if you want to prevent the game from overwriting it.
Note that changes may reset if the game is updated or if files are corrupted, so it’s useful to keep your edited configs documented.
Step 3: Activate Developer Console and Experimental Settings
Cyberpunk 2077 includes a developer console that can be enabled through mods or tweaks. One popular mod used is Cyber Engine Tweaks.
To install Cyber Engine Tweaks:
- Download the latest version from Nexus Mods.
- Extract it to the Cyberpunk 2077 main directory.
- Launch the game and press the tilde (~) key to access the console.
- Enter commands such as
Game.SetDebugSetting("PlayerMovementSpeed", 1.5)to begin fine-tuning under-the-hood values.
It’s worth noting that while powerful, console commands should be used judiciously—some may affect your save files or game stability.
Step 4: Download Native Settings Mods
Several community mods exist that aim to activate or restore graphical settings to their fullest potential. These mods typically provide user-friendly interfaces or .ini files preloaded with optimal configurations.
Popular choices include:
- Ultra Settings Mod: Unlocks a configuration closer to the developer benchmarks shown in previews.
- Photorealistic Reshade Presets: These rely on AMD CAS, depth buffers, and contrast enhancements not toggled through regular menu sliders.
- Draw Distance and LOD Mods: Significantly enhance the density and clarity of far-off scenery and objects.
As always, check mod compatibility with the current version of the game and follow installation instructions carefully. In some cases, conflicts may occur between mods or with the base game configuration files.
Step 5: Optimize System Settings to Support Native Performance
Enhancing Cyberpunk 2077 with these native-level settings demands a capable system. Even advanced PCs can struggle with Ultra Ray Tracing and 4K resolution rendering simultaneously. To maintain stable frame rates, we recommend:
- Updating GPU drivers to the latest version (NVIDIA or AMD)
- Using DLSS 3.0 or FSR if performance dips significantly, unless complete fidelity is your top priority
- For NVIDIA users: Enable ReBAR or use NVIDIA Control Panel to set application-specific 3D settings
Pairing these enhancements with system-level optimizations ensures you’re getting the full experience without performance bottlenecks.
What to Expect After Activating Native Settings
Once properly adjusted, players can expect:
- Improved lighting, with more realistic tone mapping and HDR behavior
- Greater scene density with more visible NPCs, particles, and light sources
- Increased immersion through added visual complexity like debris fields, dynamic shadows, and textured reflections
The trade-off will often include increased GPU and CPU usage. Depending on your hardware, this might make native settings ideal only for screenshots, cinematic playthroughs, or benchmarking sessions.

Risks and Considerations
While exploring and activating native settings can be incredibly rewarding, it’s not without risk. Always consider the following:
- File corruption: Modifying core config files might interfere with patches or future DLCs.
- Mod conflicts: Adding multiple graphic overhauls could result in instability.
- Performance hit: Unless you’re using top-tier components, expect to trade visual upgrades for lower frame rates.
It is highly recommended to keep testing your configuration incrementally—changing one setting at a time and testing results before proceeding with further edits.
Conclusion
Activating native settings in Cyberpunk 2077 elevates the title far beyond its surface visuals. Whether you’re seeking ultra-detailed urban explorations or looking to capture lifelike screenshots, unlocking these deeper settings can dramatically enrich your experience. However, it comes with responsibility: always back up files, understand the impact on performance, and tread carefully with modded content.
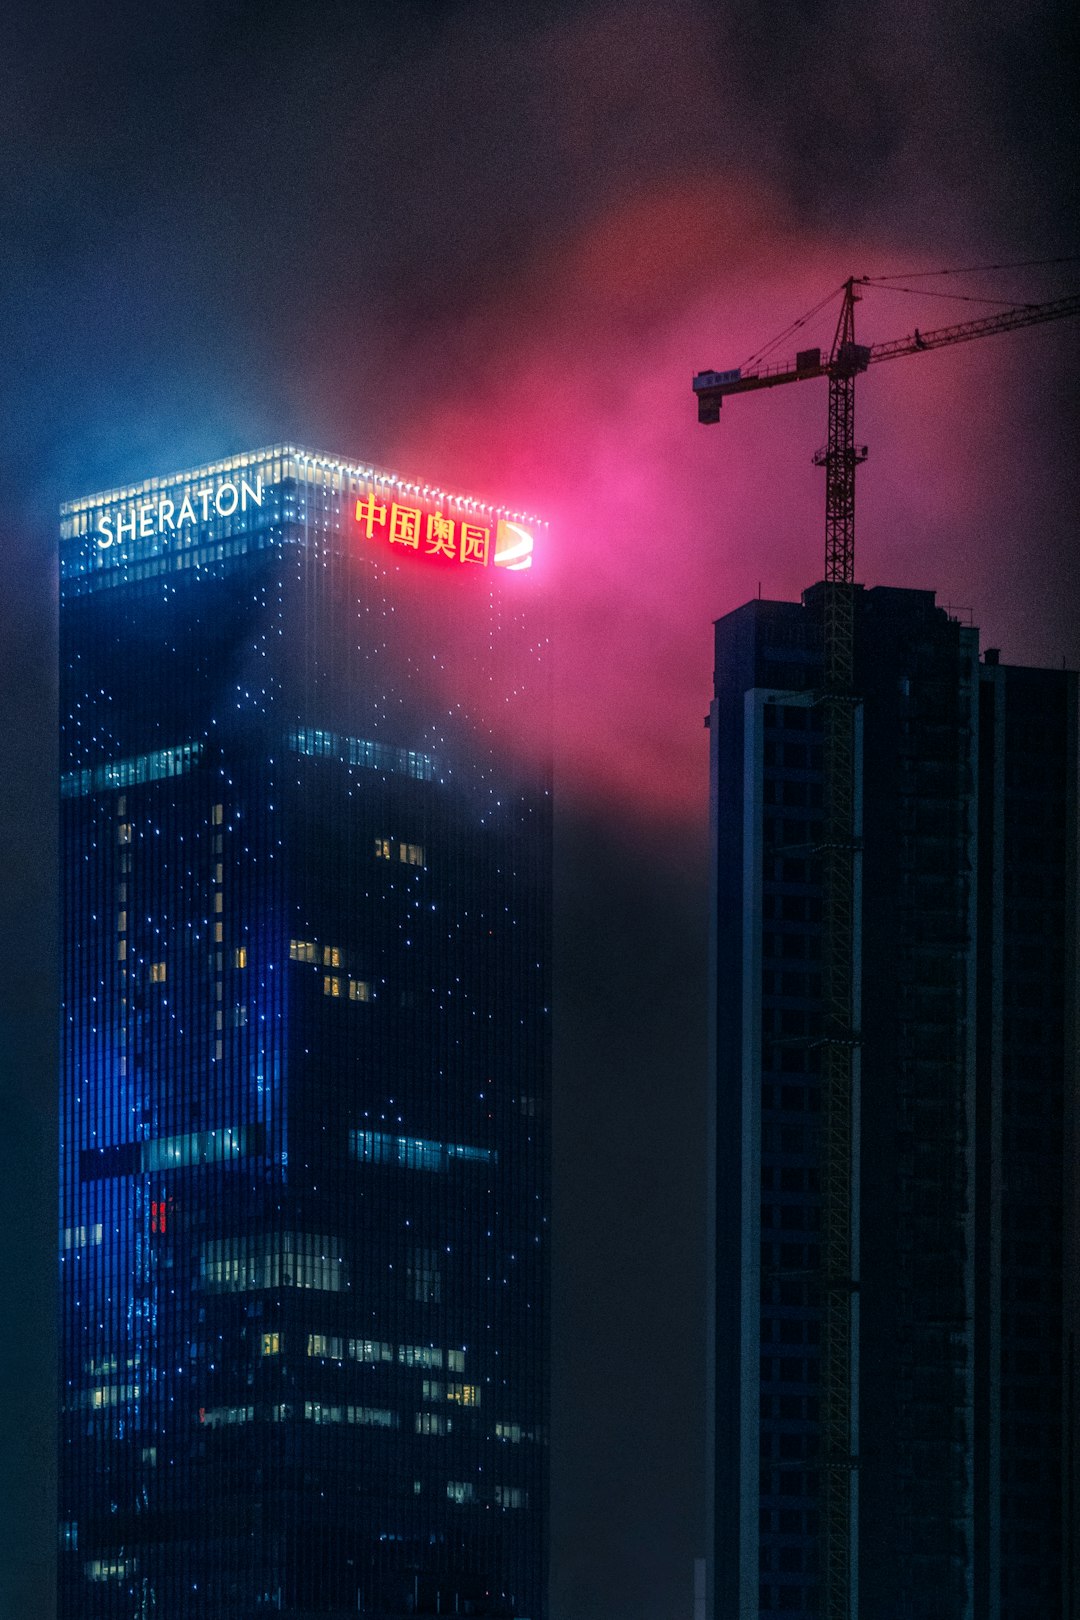
Done correctly, these advanced configurations reveal the full brilliance of Night City’s neon-soaked vistas as they were originally envisioned—an immersive, visually stunning future that blurs the line between digital and real.