Clean the CD first, then polish only light scratches with a tiny amount of plastic polish or plain white toothpaste, always wiping from the center hole to the outer edge. Most skipping comes from dirt, fingerprints, or shallow scuffs. Deep cuts, cracks, and label-side damage are a much bigger headache. Those may not be fixable at home.
TLDR: Start with a gentle wash and a microfiber cloth. If the disc still skips, use a mild polish and rub in straight lines from the center outward. For example, if track 7 freezes after 35 seconds, clean the disc, test it, then polish only the scratched area for 60 to 90 seconds. In many cases, this can turn a “dead” CD into a playable one long enough to copy the music or data.
First, Know What Kind of Scratch You Have
Not all scratches are equal. Some are just ugly. Some are fatal. The annoying part is that a tiny scratch can cause chaos, while a big-looking scuff may play fine.
- Light surface scratches: These are the best candidates for repair.
- Radial scratches: These run from the center to the edge. They are less scary.
- Circular scratches: These follow the round shape of the disc. These are worse.
- Label-side scratches: These are bad news. The data layer sits close to the label side.
- Cracks: Do not use the disc. It can shatter inside a drive.
Hold the CD under a bright lamp. Tilt it slowly. If light shines through a scratch on the label side, the data may be gone. No polish can bring back missing data. Rude, but true.

Step 1: Clean Before You Polish
This sounds too simple. It still matters most. A fingerprint can act like a tiny oil slick. Dust can block the laser. Grit can make new scratches while you rub.
Use this safe cleaning method:
- Rinse the shiny side with lukewarm water.
- Add one drop of mild dish soap.
- Rub gently with clean fingers.
- Rinse well.
- Dry with a soft microfiber cloth.
- Wipe in straight lines from the center to the edge.
Do not wipe in circles. That can make circular marks. CD players hate those. They cross the data path and can cause repeated skipping.
Let the CD dry fully. Then test it. If it plays, stop. Celebrate. Do not polish “just to make it prettier.” That is asking for trouble.
Step 2: Try the Microfiber Buff
If cleaning helped but did not fix the skip, try a dry buff. Use a clean microfiber cloth. Press lightly. Wipe from the center outward. Turn the disc a little. Repeat.
This can smooth tiny smudges and leftover film. It will not remove real grooves. But it is safe, quick, and cheap. That makes it worth trying.
Expect to waste time on one track if the scratch is stubborn. It drives me crazy that a disc can play 11 songs perfectly, then throw a tantrum on the last chorus.
Step 3: Polish Light Scratches With Toothpaste
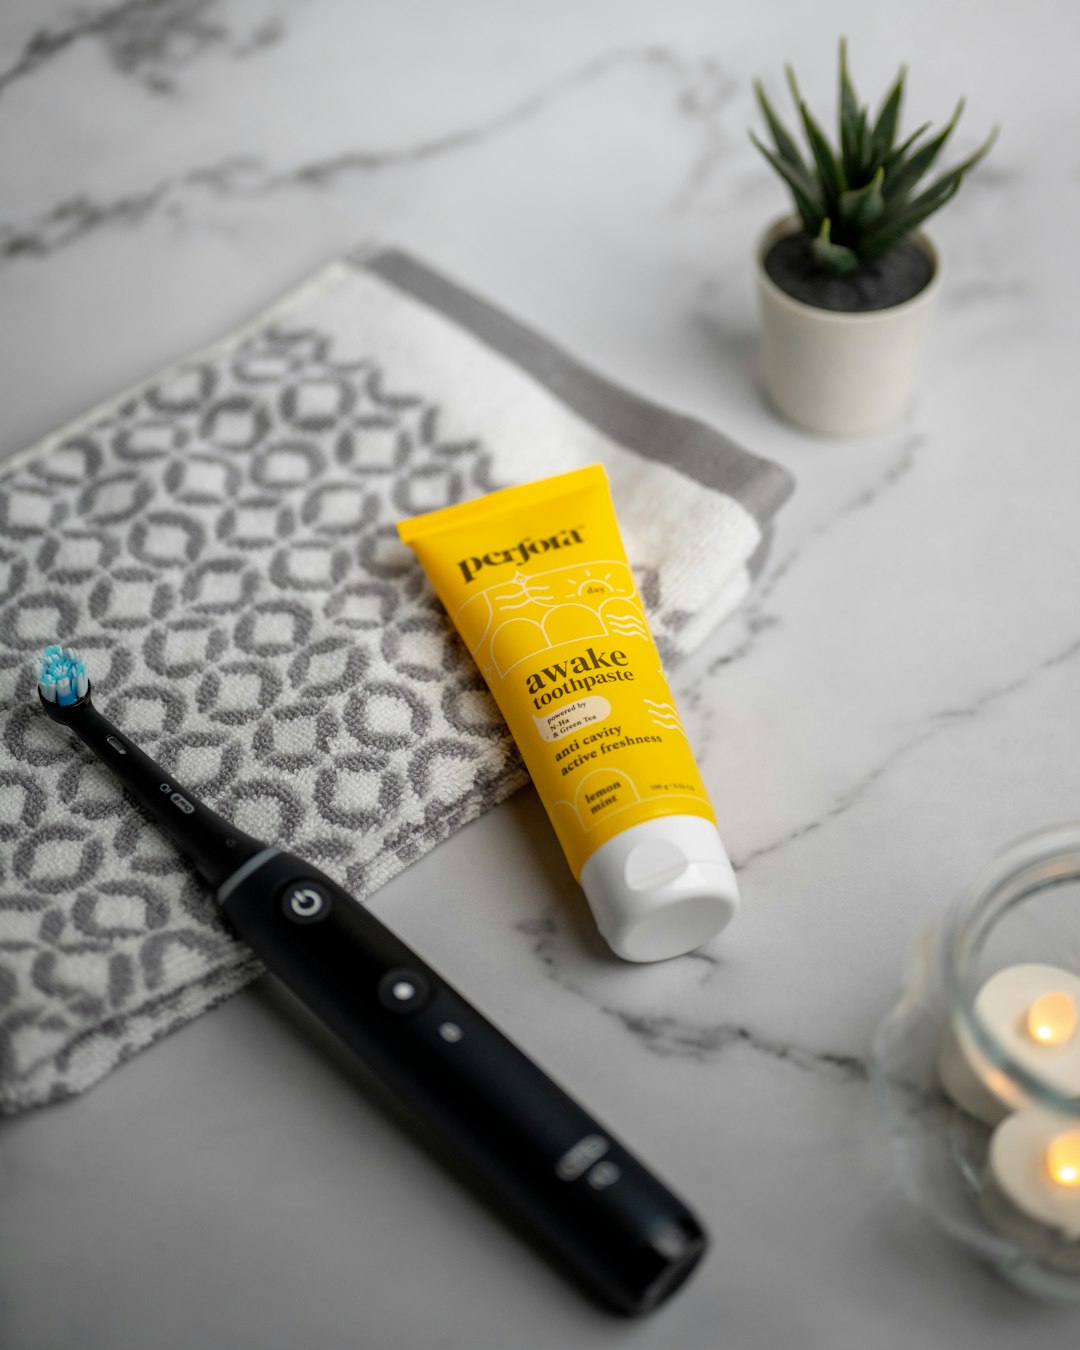
Plain white toothpaste can work because it is a mild abrasive. It can gently smooth the plastic surface. The goal is not to fill the scratch. The goal is to make the laser read through it better.
Use only plain white toothpaste. Do not use gel toothpaste. Do not use whitening crystals. Do not use gritty charcoal paste. Your CD is not a bathroom sink.
Here is the simple method:
- Put a pea-sized dot of toothpaste on the shiny side.
- Add a few drops of water.
- Use a soft cotton cloth or microfiber cloth.
- Rub from the center hole to the outer edge.
- Work for about 60 seconds.
- Rinse completely with lukewarm water.
- Dry with a microfiber cloth.
- Test the CD.
If the disc still skips, repeat once. Maybe twice. Do not grind away at it for ten minutes. You can make the surface cloudy. Then you have a new problem.
Step 4: Use Plastic Polish for Better Results
A proper plastic polish is often better than toothpaste. It is made for clear plastic. It can leave a smoother finish. Look for a polish used on acrylic, car headlight lenses, or plastic watch faces.
Use a tiny amount. Follow the bottle directions. Again, rub in straight lines from the center outward. Keep pressure light. The CD should not bend.
After polishing, wash the disc with mild soap and water. Dry it well. Then test playback. If it works, copy the disc right away. Do not trust it forever.
What About Scratch Repair Machines?
Disc repair machines can help. Some public libraries, game shops, and music stores have them. They resurface the plastic more evenly than your hand can.
Cheap home machines are mixed. Some are fine. Some leave swirl marks. Honestly, it feels like half of them fix one problem and add another. If the CD matters, ask a shop before using a bargain gadget.
Professional resurfacing is best for valuable discs. It costs money, but it is safer than attacking a rare album with mystery paste from a drawer.
Things You Should Not Use
Some internet tricks are strange. Some are risky. Some are pure chaos in a cute wrapper.
- Do not use acetone. It can ruin plastic.
- Do not use furniture polish. It can leave oily film.
- Do not use paper towels. They can scratch the surface.
- Do not use a magic eraser. It is too abrasive for casual use.
- Do not heat the CD. Warped discs are done.
- Do not bend the disc. Tiny cracks can spread.
Also skip bananas, peanut butter, and other food tricks. They may make a funny video. They also make sticky trash. Your CD player deserves better.
Can You Fill a Scratch?
Some products claim to fill scratches. In practice, polishing is usually more reliable. A filler must dry clear, stay smooth, and not leave a film. That is a lot to ask.
If you try a commercial disc repair liquid, test it on a disc you do not care about. Read the label. Use very little. Clean off residue before putting the disc in a player.
Rescue the Data While You Can
If the CD plays after cleaning or polishing, make a copy right away. For music, rip the tracks to a computer. For files, copy the folder to a hard drive or cloud storage.
Use software with error correction when possible. Some ripping programs can try damaged sections several times. This may take longer. A normal track might rip in 20 seconds. A scratched track may take 3 minutes. That wait is boring, but worth it.
How to Prevent New Scratches
Once the CD works again, treat it like it has trust issues. Because it does.
- Store it in a case, not a random drawer.
- Hold it by the edges or center hole.
- Keep it away from heat and sunlight.
- Never stack loose discs.
- Clean it before every big rip or playback session.
- Label only with a soft CD-safe marker.
Do not place the shiny side down on a desk. Desks are scratch farms. One tiny crumb can carve a nasty line.
When to Give Up
Stop if the CD is cracked. Stop if the label side is badly scratched. Stop if polishing makes the disc cloudy. Stop if your player makes odd noises while spinning it.
A badly damaged CD can harm a drive. That is not worth one song. If the disc is rare, send it to a professional repair service. If it is common, replace it.
The safest order is simple: clean, dry, test, polish lightly, test again, then copy the data. Go slow. Use soft materials. Rub straight outward. With a little luck, that scratched CD gets one more comeback tour.